WALT: Accredited Outdoor Leader Training Arrives in Wales
Step into nature with the confidence to lead others. Join Our Woodland Activity Leader Training.
We are thrilled to announce the launch of our new accredited training course Woodland Activity Leader Training (WALT). This program is designed for anyone passionate about leading outdoor education sessions but who may lack the confidence or formal training to do so. Whether you’re a school teacher, park ranger, social worker or health professional, WALT provides the skills and knowledge needed to lead engaging and educational woodland-based activities.
James Kendall, co-director of Woodland Classroom shared his excitement, “Over the years we’ve been asked time and again by so many people whether we offer any accredited training in how to do what we do, hosting woodland based activity sessions. And now we can finally say yes. We’re looking forward to sharing our knowledge, enthusiasm and passion for outdoor education with others so they can take their first steps into this world.”
WALT is the brainchild of Scottish environmental education charity Wild Things! where a need was recognised for a course which empowered and qualified teachers to take their lessons out to nature with a good balance of outdoor learning theory, naturalist knowledge and practical bushcraft skills. Luke Strachan, CEO of Wild Things!, shares, “Wild Things is excited to partner with Woodland Classroom to bring our professionally recognised and much-loved Woodland Activity Leader Training course to Wales! As an environmental education charity, providing ways to empower others to deliver life-enriching experiences in the great outdoors is a core part of our mission.”
Want to know more about WALT? Watch this promotional video from the course creators Wild Things!
Why Choose WALT?
- Accredited Alternative: WALT offers an accredited alternative to formal Forest School Leader training, making it a credible option for professional development.
- First in Wales: This is the first time the course is available in Wales, providing a unique opportunity for local educators and professionals.
- Comprehensive Training: Learn to lead groups of all ages in a variety of outdoor settings, enhancing your ability to teach and inspire through nature.
- Established Success: WALT training is proven, having already trained hundreds of outdoor educators successfully for 10 years.
What You Will Learn
Participants will gain a wide range of skills and knowledge including:
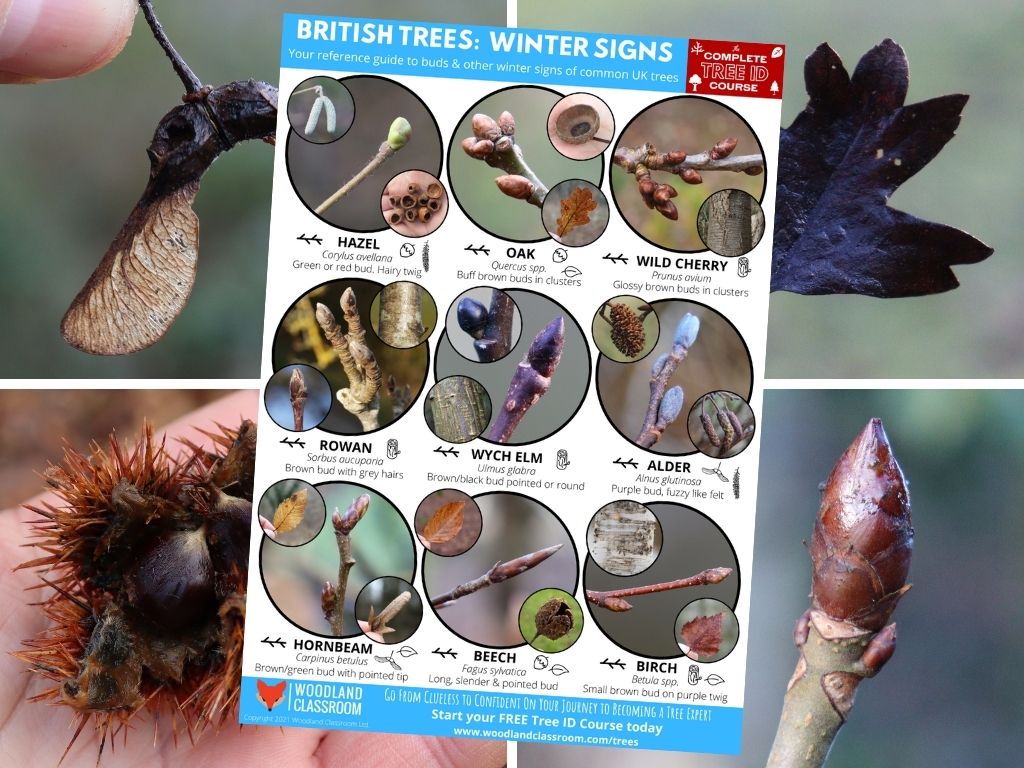
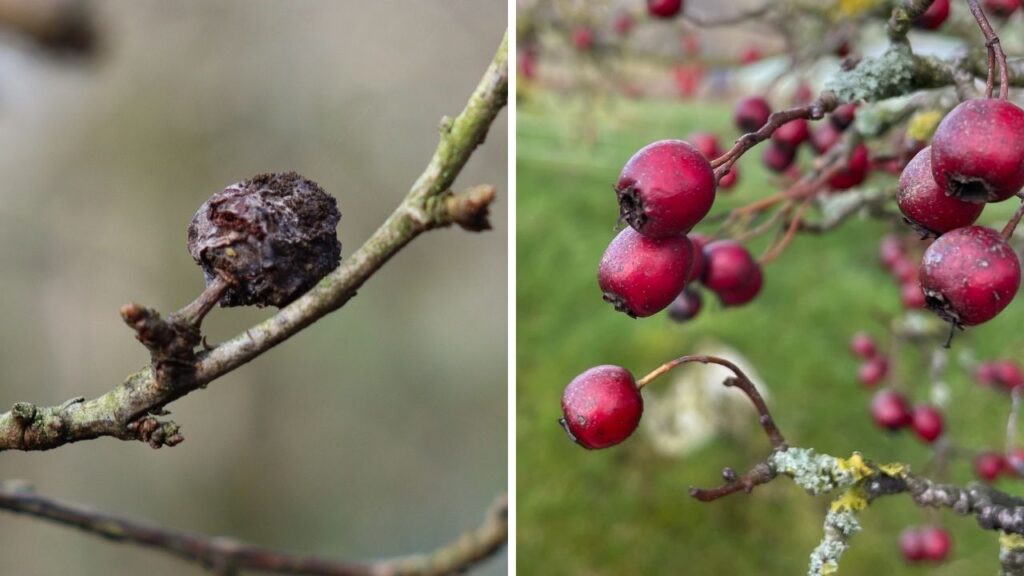
- Understanding woodland ecosystems and how to use them as an educational resource.
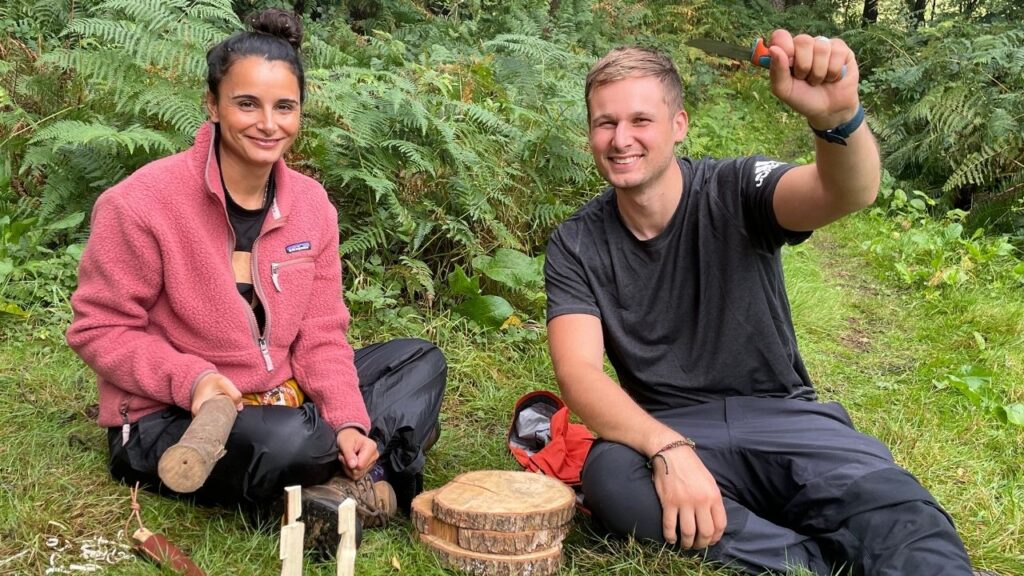
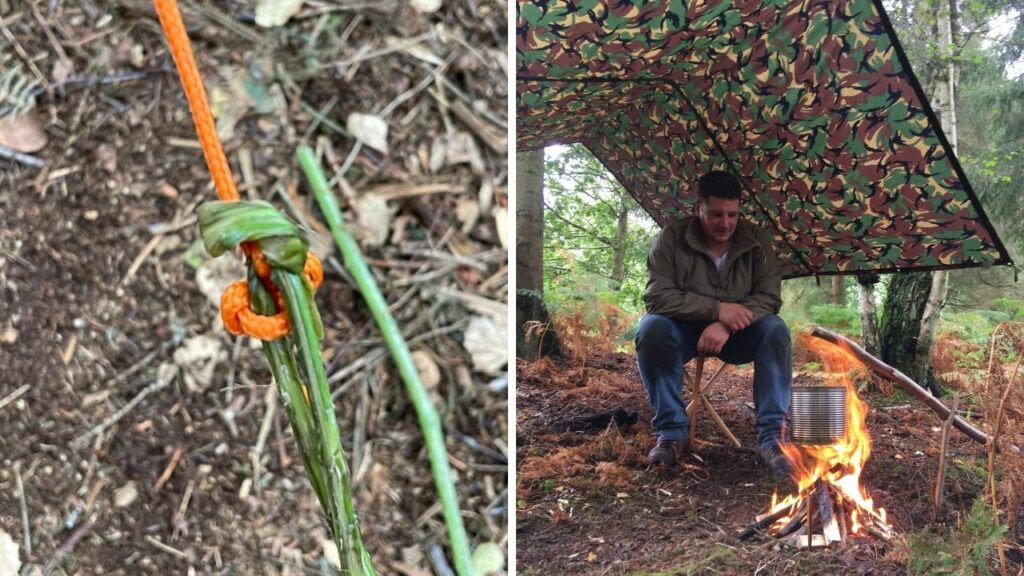
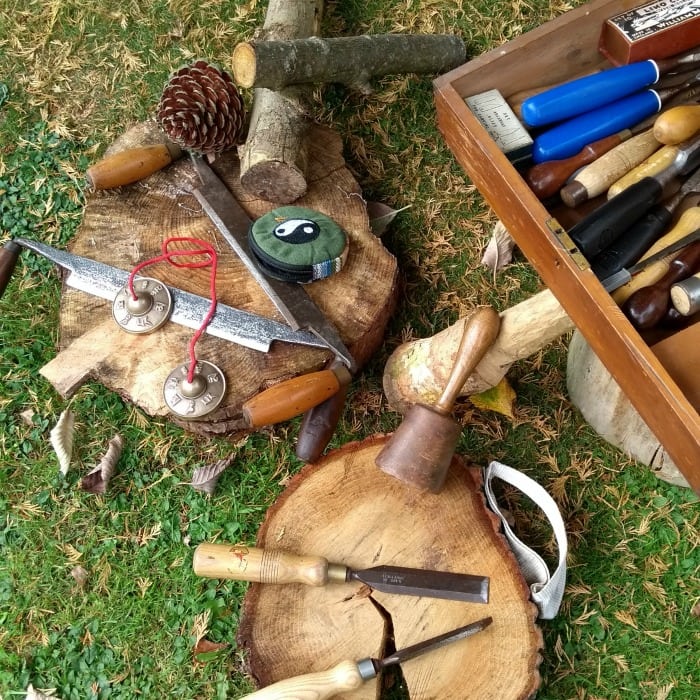
- Practical skills such as safe tool use, fire lighting, shelter building, and rope work.
- Activity planning and risk management to ensure safe and enjoyable sessions.
- Techniques for engaging groups and fostering a connection with nature.
- Approaches to inclusivity and accommodating diverse groups.
A Viable Alternative to Forest School Leader Training
One of the significant attractions of WALT is that it serves as a less intensive alternative to Forest School Leader Level 3 training. The course demands a smaller time commitment, incurs lower costs, requires less written paperwork, and qualifies you to start running sessions immediately after passing your assessment. With 10 years of successful training since its inception in 2014, WALT is a proven pathway to becoming a confident and effective outdoor leader.
James explains, “As an experienced Forest School Leader myself, I’m very much a champion for the Forest School way of learning. However, I also see that there are many people wanting to take groups into nature that are put off by the time and financial commitment required to achieve the Forest School Leader Level 3 award. Having worked with schools for years, I’ve seen that the reality is that not many school settings can host Forest School programmes in their purest form, as there are often clashes with the school curriculum and a restrictive timetable. The skills learned in WALT take participants through those essential steps and skills to where they need to be in order to take their own groups out into nature whilst being realistic with how those sessions will fit into the structure they are already working in, such as integrating outdoor learning into the curriculum.”
WALT is accredited through the NCFE for a Level 2 award. The course is delivered through a combination of online learning, for the theory modules, and outdoor face-to-face sessions for the practical elements. Previous participants have told us that they really like this more flexible format to training, which allows them to fit the course around their work commitments.
On completing the course, participants can join an online community of graduates where they can ask questions, share successes and connect with other outdoor educators.
Not Just for School Teachers
WALT is the perfect first step in training for school teachers seeking to include more outdoor learning in their sessions for children. However, this training is also suitable for anyone wanting to take groups of adults into natural settings such as for a socially prescribed programme with a focus on mental health and wellbeing through nature connection.
“Before the course, I lacked the confidence and didn’t know where to start with practically running outdoor-based sessions for adults. The course was enjoyable and informative, providing me with the skills and confidence to effectively lead my sessions. I am excited to take what I’ve learned and apply it to my work, helping others benefit from quality time in nature.” WALT Course Participant
WALT equips educators with the practical skills and confidence needed to enhance their teaching through engaging outdoor activities.
“Excellent, a fully immersive experience, so I gained very useful knowledge and skills to take away. Very informative and relevant information and activities I can take away and teach to any level of primary aged children.” WALT Course Participant
Course Availability and Custom Options
We will be hosting WALT courses twice a year, in the spring and autumn. Additionally, we offer the flexibility to host private group sessions and can potentially travel to your own outdoor venue to run the course.
Check our upcoming course dates and get in touch if you want to know more!
Download Our Course Brochure
To find out more about WALT, you can download our comprehensive course brochure.
Download the brochure here and discover how WALT can benefit you!
“The course was excellent. It met all my expectations. I came with almost zero knowledge, especially in the practical areas and I feel much more confident now in trying to develop these areas. It has also ignited my passion for learning more.” WALT Course Participant
Our Partnership with Wild Things!
We’re proud to partner with Wild Things!, an award-winning environmental education charity based in Scotland. Since 2003, Wild Things! has been fostering a deep connection between people and nature through transformative experiences. Their expertise and dedication to environmental education make them the perfect collaborator for this exciting new course.
Luke Strachan, CEO of Wild Things! adds, “There are few other outdoor courses that pack so much into such a short space of time, but our aim has always been to provide people with an affordable and exciting way to facilitate outdoor experiences, whatever their reasons may be. At Wild Things, we have been impressed by the quality, ethos, and heart of the Woodland Classroom team and we’re excited to work with them to bring our most popular training courses to new audiences across the country!”
Join us in making outdoor education more accessible and inspiring. Sign up for the Woodland Activity Leader Training (WALT) course today and become a confident leader in outdoor learning.
For more details, visit this page.
Get in touch today to learn more about this exciting opportunity!


 The health benefits of being outdoors is one topic I find fascinating. As well as being the co-owner of an Outdoor Education & Bushcraft company, I also work in mental health as a counsellor. In my work I have always been interested in the idea of our inner hunter-gatherer. Studies have shown that our brains are still wired up to a live in the world of our ancestors where our priorities were to hunt and gather for food, build shelter, connect with our families and communities and use plants to heal ourselves. Occasionally we’d experience the stress response to run away from danger or fight to protect ourselves from harm. In the world of the hunter-gatherer these stressful instances would have normally been short lived and with the immediate danger passed we’d soon return to the safety of our tribe, an ongoing cycle of relaxation to stress to relaxation, completed and no harm done. Fast forward to today however, and our modern, fast-paced lifestyles mean we spend much of our lives in this stress state. Cortisol (your body’s main stress hormone) is racing through our systems steadily and rarely do we get much of a break from this to reconnect with our tribe and loved ones and complete the cycle, allowing the brain to get it’s much needed rest.

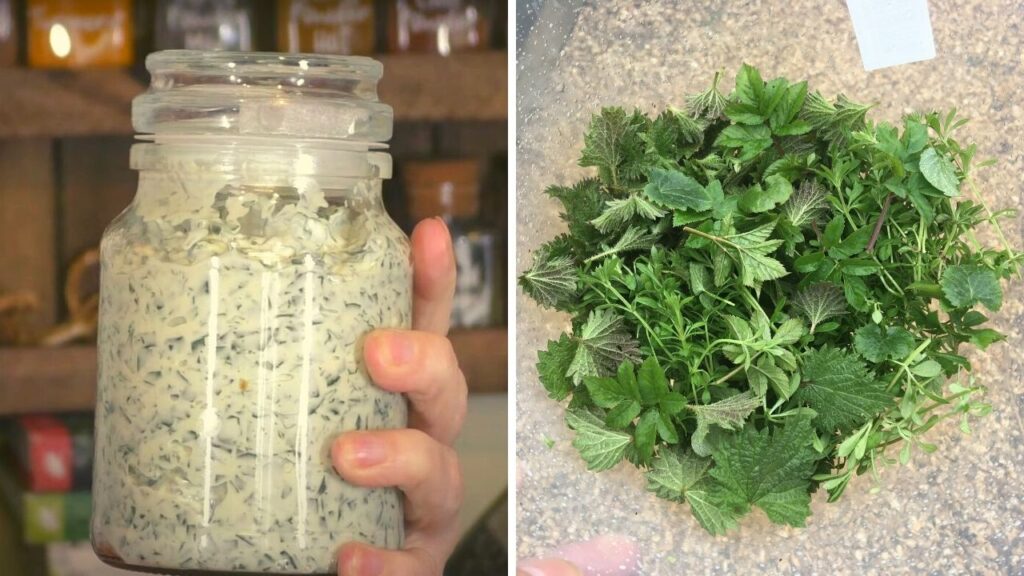
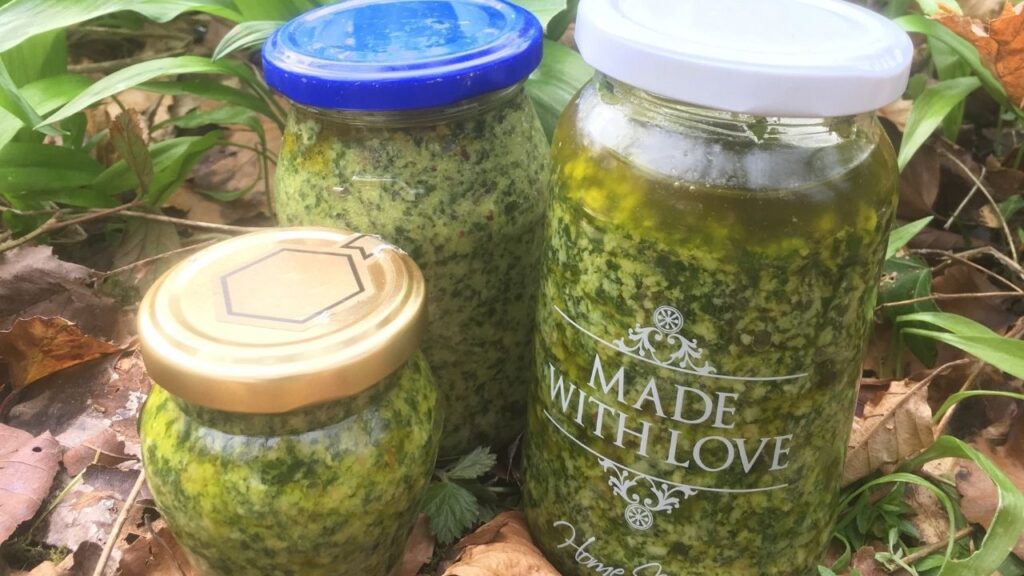
 I’ve recently discovered the process of fermenting wild greens. This is an ancient technique to preserve foods and to increase the nutritional value which greatly benefits the overall health of the body. This further led me to develop my understanding of how the gut plays a major role in our mental health too. It was fascinating to discover that 90% of serotonin is produced in the gut, it’s like the body’s second brain. Eating fermented food is incredibly good for us and up until very recently in western history we have been preserving food in this way.
 Woodland Classroom are hosting a whole weekend of